What to Expect During Wood Floor Installation
Bringing natural surfaces into your home is one of the most effective ways to elevate its overall feel. But the journey from bare surfaces to finished wood floors involves more than just choosing the right style. Many homeowners aren’t sure what the installation process actually looks like – how long it takes, what steps are involved, or how to prepare.
Working with a dependable hardwood floor contractor in Winston-Salem is key, but understanding each step of the process brings clarity and peace of mind. Read on to learn what the full wood floor installation experience looks like from start to finish.
What is the process of installing wood floors?
 Getting new surfaces installed is a multi-step process that involves planning, prep, precise craftsmanship, and finishing. Many assume it’s as simple as nailing down a few planks, but there’s much more to it, especially when quality and longevity are the goal. Whether you’ve noticed that your existing wood floors need more than a polish or you’re installing them for the first time, understanding how each stage works will help you feel confident and informed throughout.
Initial consultation & site evaluation
Every successful installation begins with a conversation. A professional will visit your home to assess the space, take measurements, and understand your aesthetic goals. During this time, you’ll discuss layout options, plank sizes, and the right species for your space. This is also when moisture levels and subfloor conditions get evaluated—factors that directly impact performance and durability.
Expect questions about your daily routines, pets, foot traffic, and lighting preferences. These details help shape the recommendations so your new surface fits your lifestyle as much as your style.
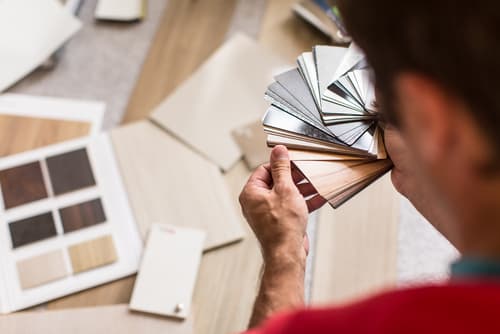
Material selection & scheduling
Once the consultation is complete, the next step is choosing materials. Looking to match your wooden floors to other design features? Or are you looking for something completely unique? Whether you’re leaning toward the clean finish of maple or the unique grain of bamboo, each type offers distinct advantages. This is also when you’ll select stain colors, finishes, and patterns, such as straight lay or diagonal.
After everything is finalized, your installer will coordinate timing with you. Some materials require acclimation before installation, which means they’ll be delivered to your home a few days in advance so they can adjust to the indoor environment. This prevents issues like warping or shrinking later on.
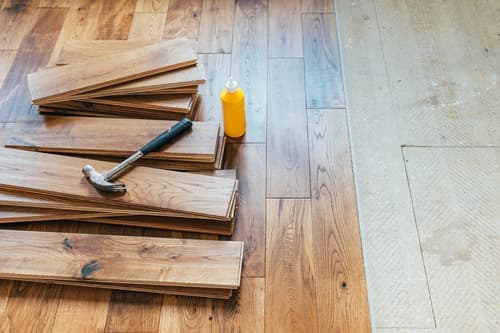
Preparation of the area
Before any work begins, the area must be cleared and prepped. Furniture is removed, and any existing surfaces may need to be taken up. The substructure is then cleaned, leveled, and inspected for imperfections. Unevenness or moisture issues must be addressed at this point to avoid long-term problems.
It’s also standard for professionals to use dust-containment systems during this stage, especially if sanding or subfloor leveling is required. This keeps the surrounding areas of your home clean and minimizes disruption.
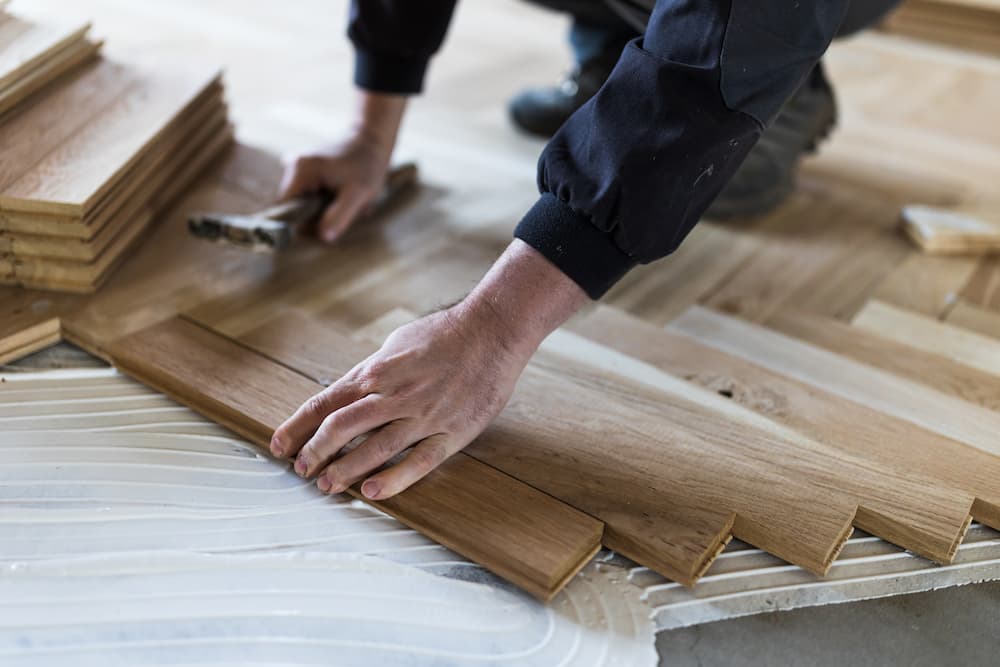
Laying the material
With the space ready and the planks acclimated, installation begins. The team will map out the room for precise alignment, taking care to maintain consistent spacing and a visually appealing layout. This involves measuring and trimming around obstacles such as vents, doorways, or built-ins.
Depending on the method—nail-down, glue-down, or floating—appropriate adhesives or fasteners are used to secure each piece. Precision is key here; even minor errors can affect the entire appearance and integrity of the room. Throughout the process, edges and seams are carefully checked to ensure a tight, uniform fit.
Trimming, sealing & finish application
 Once the main surface is in place, the team adds trim, transitions, and molding to complete the room’s perimeter. This ties the room together and creates a polished, finished appearance. Any gaps or edges are sealed to protect against moisture intrusion and wear.
The final step is the application of finishes or sealants. These protective layers enhance color and grain while defending against scratches and stains. Your installer may use premium options like Bona® finishes for a more durable, long-lasting result. The curing process can take a few hours to a few days, depending on the product.
Cleanup & walkthrough
Before wrapping up, the workspace is thoroughly cleaned, and all tools and dust containment equipment are removed. A walkthrough is conducted so you can review the results, ask questions, and receive care instructions for your new hardwood floors. This is also when you’ll learn about the one-year craftsmanship warranty and what to expect in terms of long-term care or future refinishing.
What’s the most dependable hardwood floor contractor in Winston-Salem?
At Premier Hardwood Floors, every project is guided by years of technical precision and hands-on experience. We don’t just lay down planks, we help you bring new life into your space with craftsmanship that lasts. Our team handles everything from tailored material selection to expert-level prep and finish work, always with cleanliness and respect for your home as a top priority.
From the charming streets near Old Salem Museums & Gardens to the outskirts of Winston-Salem and beyond, we’re at your service wherever you need us and proud to deliver results that speak for themselves. Call now to schedule your consultation and see the difference real professionals make.